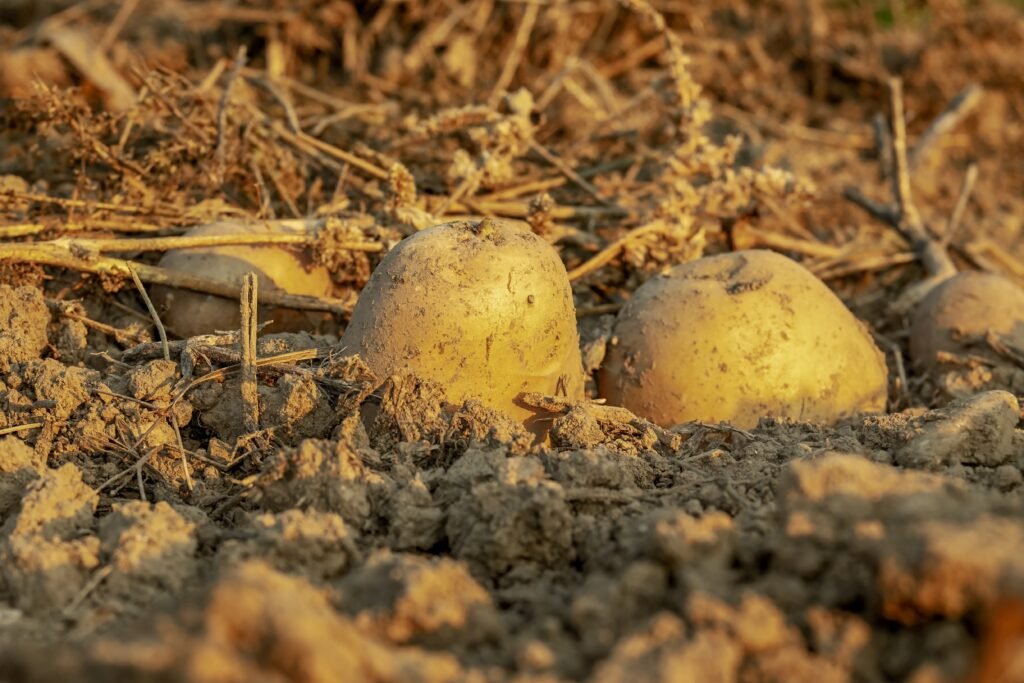
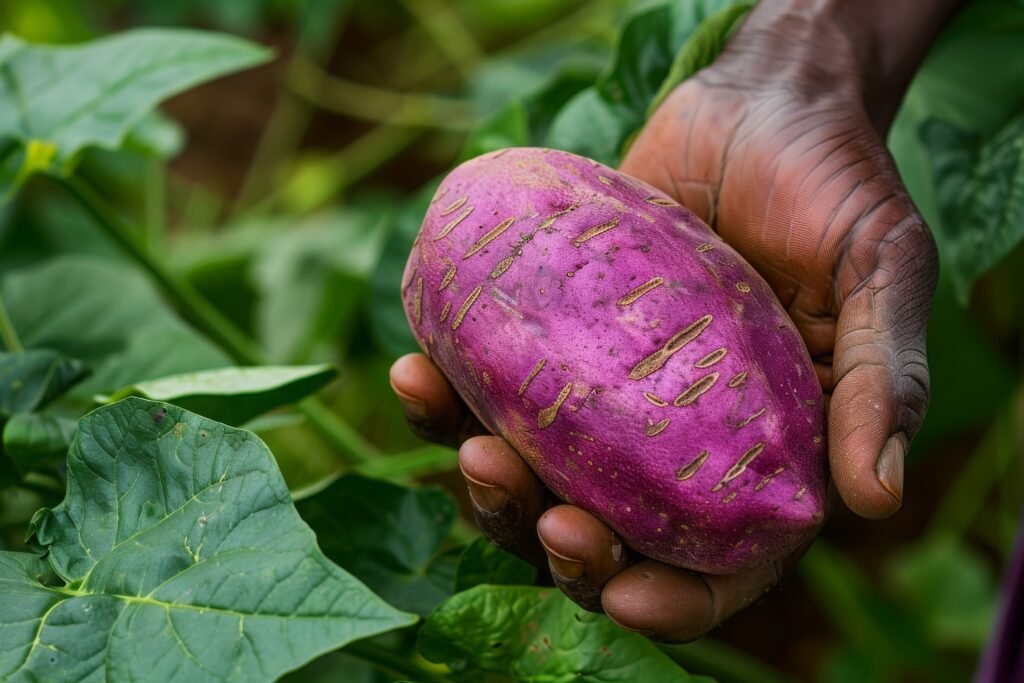
The potato plant, Solanum tuberosum, is a perennial vegetable that belongs to the nightshade family. It produces edible tubers consumed worldwide.
Potato plants are crucial in global agriculture due to their nutritional value and versatility. Originating from the Andes in South America, they now thrive in various climates. Potatoes are rich in carbohydrates, vitamins, and minerals, making them a dietary staple.
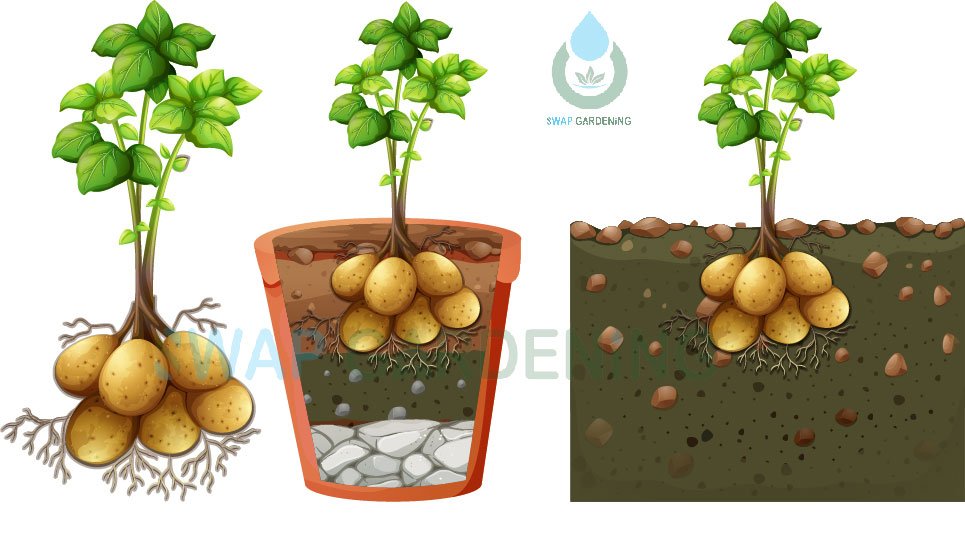
They grow best in well-drained, fertile soil with full sun exposure. Farmers often plant seed potatoes, which are pieces of tubers with eyes that sprout. Proper care, including watering and pest control, ensures a healthy crop. Harvesting occurs once the foliage dies back. Their resilience and nutritional benefits make them indispensable in both subsistence and commercial farming.
The Humble Beginnings
The potato is a remarkable plant. It starts small but grows big. Farmers have grown potatoes for centuries. Potatoes are easy to grow and versatile. They can be baked, mashed, or fried. This section covers how to start growing potatoes. We’ll look at choosing the right variety and seed potato selection tips.
Choosing The Right Variety
Different potato varieties suit different needs. Some potatoes are best for boiling. Others are great for baking. Here are some common types:
| Variety | Best For |
|---|---|
| Russet | Baking |
| Yukon Gold | Mashing |
| Red Potatoes | Boiling |
| Fingerlings | Roasting |
Choose a variety based on your cooking plans. If you love fries, choose Russets. For salads, go with Red Potatoes.
Seed Potato Selection Tips
Seed potatoes are small potatoes used for planting. They should be healthy and disease-free. Here are some tips:
- Buy certified seed potatoes from a trusted source.
- Check for firm and blemish-free potatoes.
- Avoid wrinkled or sprouting potatoes.
Cut large seed potatoes into pieces. Each piece should have at least one eye. Let the pieces dry for a day before planting.
Plant the seed potatoes in well-drained soil. Ensure they get enough sunlight and water. With the right care, your potatoes will thrive.
Preparing The Soil
Growing healthy potato plants starts with preparing the soil. The right soil ensures your potatoes grow strong and healthy. Let’s look at the key steps to get your soil ready.
Soil Composition And Ph
Potatoes need well-drained soil. Sandy loam is ideal. This type of soil allows roots to spread easily.
Check the soil pH. Potatoes thrive in slightly acidic soil. The pH should be between 5.0 and 6.5.
| Soil Type | Ideal for Potatoes? |
|---|---|
| Clay | No |
| Sand | No |
| Loam | Yes |
Test your soil with a pH kit. If the pH is too high, add sulfur. If too low, add lime.
Preparing Beds And Planting Depths
Prepare raised beds for better drainage. Each bed should be about 12 inches high. This helps prevent waterlogging.
Plant your potatoes in rows. Each row should be 3 feet apart.
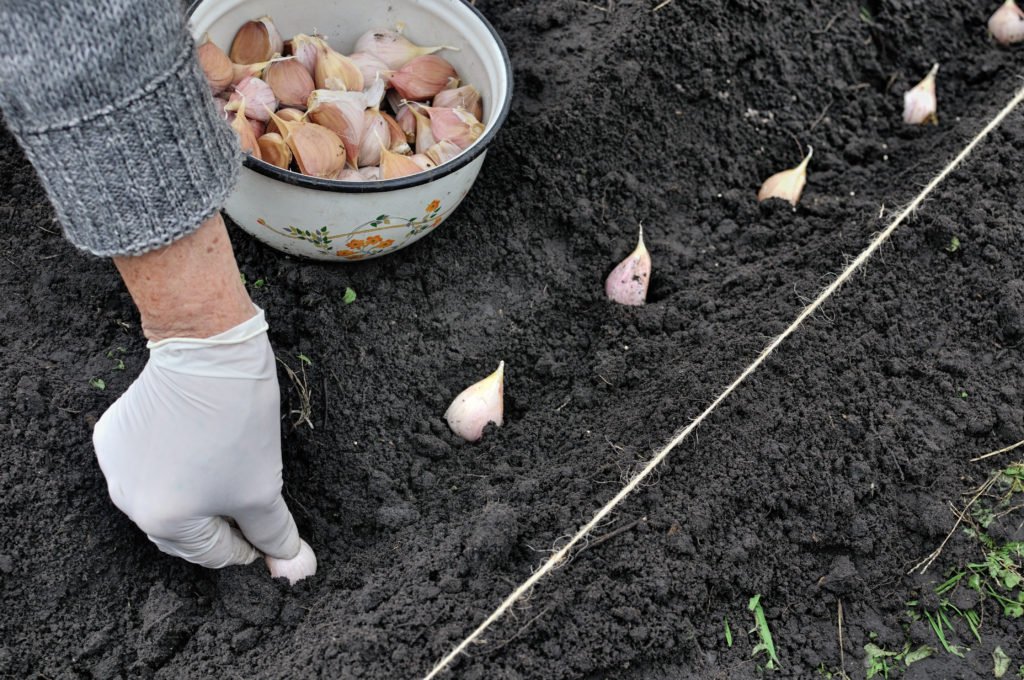
Plant the seed potatoes 4 inches deep. Cover them with soil. Space each seed potato 12 inches apart in the row.
- Make sure the eyes of the seed potatoes face up.
- Cover the seeds with loose soil.
- Water the soil lightly after planting.
Keep the soil moist but not soggy. This ensures the potatoes grow well.
Planting Strategies
Potatoes are a rewarding crop to grow in your garden. Understanding the best planting strategies can ensure a bountiful harvest. This section covers the best time to plant and spacing for success.
Best Time To Plant
Plant potatoes in early spring when the soil is workable. Aim to plant two weeks before the last expected frost. The soil temperature should be at least 45°F (7°C).
For a fall harvest, plant in late summer. Ensure the growing season is long enough before the first frost. This way, your potatoes have time to mature.
Spacing For Success
Proper spacing is crucial for healthy potato plants. It allows room for tubers to grow and reduces disease risk.
| Spacing Type | Distance |
|---|---|
| Between Plants | 12 inches (30 cm) |
| Between Rows | 36 inches (90 cm) |
Plant seed potatoes 4 inches (10 cm) deep. Cover with soil and water well.
As the plants grow, hill soil around the stems. This supports the plants and encourages more tuber growth.
Follow these strategies for a successful potato harvest. Happy planting!
Water Wisdom
Water is essential for potato plants to thrive. Proper watering techniques ensure healthy growth. Understanding how much water your potato plants need is crucial. Let’s dive into the best irrigation practices and how to spot signs of overwatering and underwatering.
Irrigation Techniques
Effective irrigation is key to growing healthy potato plants. Here are some best practices:
- Drip Irrigation: This method delivers water directly to the roots. It reduces water waste and keeps foliage dry.
- Soaker Hoses: These hoses provide a slow, steady water supply. Place them close to the plants for best results.
- Watering Cans: Use a watering can for small gardens. Ensure the water reaches deep into the soil.
Signs Of Overwatering And Underwatering
Knowing the signs of overwatering and underwatering helps you adjust your watering schedule. Here are some key indicators:
| Condition | Signs |
|---|---|
| Overwatering | Yellowing leavesRoot rotWilting despite wet soil |
| Underwatering | Dry, crumbly soilWilting in dry soilBrown leaf edges |
Adjust your watering based on these signs. Consistent and proper watering ensures healthy potato plants.
Nutrient Management
Managing nutrients is vital for growing healthy potato plants. Proper nutrient management ensures robust growth and high yields. Potatoes need specific nutrients at different growth stages. This section covers the essentials of nutrient management for potato plants.
Fertilizing Fundamentals
Potato plants need a balanced mix of nutrients. The key nutrients are nitrogen, phosphorus, and potassium. Nitrogen helps in leaf growth. Phosphorus is essential for root development. Potassium enhances disease resistance.
A soil test before planting is crucial. It helps determine the nutrient needs. Based on the test, apply a balanced fertilizer. Typically, a 10-10-10 or 14-14-14 fertilizer works well. Apply fertilizer in bands or mix it into the soil.
| Nutrient | Role | Source |
|---|---|---|
| Nitrogen (N) | Leaf growth | Urea, Ammonium nitrate |
| Phosphorus (P) | Root development | Bone meal, Superphosphate |
| Potassium (K) | Disease resistance | Potash, Sulfate of potash |
Organic Options
Organic fertilizers are a great option. They release nutrients slowly and improve soil health. Common organic fertilizers for potatoes include compost, manure, and bone meal.
Compost adds organic matter to the soil. It improves soil structure and water retention. Well-rotted manure provides essential nutrients. Bone meal is high in phosphorus. It supports strong root growth.
- Compost: Enhances soil structure and fertility.
- Manure: Supplies nitrogen and other nutrients.
- Bone Meal: Rich in phosphorus for root growth.
Apply organic fertilizers before planting. Mix them into the soil to a depth of 6-8 inches. This ensures the nutrients are available to the roots.
Pest Patrol
Potato plants need proper care to thrive. One key aspect is pest control. Pests can damage your potato plants and reduce your yield. Understanding common potato pests and control methods is crucial.
Common Potato Pests
- Colorado Potato Beetle: These beetles chew on leaves. They can cause significant damage.
- Potato Aphid: These small insects suck sap from plants. They can spread diseases.
- Wireworms: These larvae eat the roots and tubers. They can cause the potatoes to rot.
- Potato Tuberworm: These pests tunnel into tubers. They make the potatoes inedible.
- Flea Beetles: These tiny beetles create small holes in leaves. They can stunt plant growth.
Organic And Chemical Control Methods
Both organic and chemical methods can protect your potato plants. Choose the method that suits your needs.
| Method | Description |
|---|---|
| Handpicking | Pick beetles and larvae from plants. Dispose of them properly. |
| Neem Oil | Spray neem oil on plants. It repels many pests. |
| Diatomaceous Earth | Apply this powder around plants. It kills crawling insects. |
| Insecticidal Soap | Use insecticidal soap to control aphids. Spray it directly on pests. |
| Crop Rotation | Rotate crops each year. This reduces pest buildup in soil. |
| Chemical Pesticides | Use chemical pesticides as a last resort. Follow the label instructions. |
Implement these methods to keep your potato plants healthy. Regular monitoring and prompt action are key to effective pest control.
Disease Deterrence
Potato plants are susceptible to various diseases. Disease deterrence is crucial for healthy crops. Proper prevention and treatment can save your harvest.
Preventing Common Diseases
Healthy soil is key for disease prevention. Ensure your soil is well-drained. Avoid planting potatoes in the same spot every year.
- Use disease-free seed potatoes.
- Practice crop rotation.
- Maintain proper spacing between plants.
- Water plants at the base, not the leaves.
- Remove and destroy infected plants promptly.
Avoid overhead watering to reduce leaf diseases. Mulch can help retain moisture and prevent soil-borne diseases.
Treatment Strategies
Treating diseases early can save your potato crop. Here are some effective strategies:
- Identify the disease quickly.
- Use organic fungicides for early blight.
- Apply copper-based fungicides for late blight.
- Remove and destroy infected plants.
- Consider resistant potato varieties.
Monitor your plants regularly. Early detection is crucial for effective treatment.
| Disease | Symptoms | Treatment |
|---|---|---|
| Early Blight | Brown spots on leaves | Organic fungicides |
| Late Blight | Dark lesions on leaves and stems | Copper-based fungicides |
| Scab | Rough patches on tubers | Resistant varieties |
Regularly check your plants for signs of disease. Act quickly to prevent spread.
Harvest Time Tips
Harvesting potatoes is an exciting time for any gardener. Knowing when and how to harvest ensures you get the best yield. This section covers the key aspects to make your harvest successful.
Signs Of Maturity
Recognizing when potatoes are mature is crucial. Here are some signs to watch for:
- Yellowing Leaves: The leaves turn yellow and start to die back.
- Flowering: Some potato plants flower before maturity.
- Time Since Planting: Potatoes usually mature within 70-120 days.
Harvest Techniques
Follow these techniques to harvest your potatoes effectively:
- Prepare the Soil: Loosen the soil around the plants with a spade or fork.
- Lift the Plant: Gently lift the plant from the base.
- Gather the Potatoes: Collect the potatoes by hand, being careful not to damage them.
- Drying: Lay the potatoes out to dry for a few hours before storing them.
By following these tips, you can ensure a bountiful and successful potato harvest.
Post-harvest Practices
After harvesting potatoes, the journey is not over. Proper post-harvest practices ensure your potatoes remain fresh and tasty for a long time. These methods also help prevent spoilage and diseases. Let’s dive into the key practices to follow after harvesting your potato plants.
Curing For Storage
Curing is the first step after harvesting. This process helps heal any minor cuts or bruises on the potatoes. Here is how to cure your potatoes:
- Place the potatoes in a dark, well-ventilated area.
- Maintain a temperature of 45-60°F (7-15°C).
- Ensure humidity levels are around 85-95%.
- Keep the potatoes in this environment for 7-10 days.
After curing, your potatoes will have thicker skins. This makes them more durable for storage.
Long-term Storage Tips
Once cured, it’s time to store your potatoes for the long term. Follow these tips to keep them fresh:
- Store in a cool, dark place. Ideal temperature is 40-45°F (4-7°C).
- Keep humidity at 85-95% to prevent shriveling.
- Avoid storing potatoes near onions. They release gases that spoil each other.
- Check stored potatoes regularly for any signs of spoilage.
Using these tips will help your potatoes last for months. Proper storage ensures you enjoy fresh potatoes long after the harvest.

Troubleshooting In The Garden
Growing potato plants can be rewarding. Yet, issues may arise during the growing season. Addressing these problems quickly can save your harvest. This section covers common problems and quick fixes for your potato plants.
Common Issues
| Issue | Symptoms | Cause |
|---|---|---|
| Yellow Leaves | Leaves turn yellow and wilt | Overwatering or nutrient deficiency |
| Blight | Dark spots on leaves | Fungal infection |
| Scab | Rough patches on potatoes | Bacterial infection |
| Aphids | Small insects on leaves | Pest infestation |
Quick Fixes
- Yellow Leaves: Reduce watering. Check soil drainage.
- Blight: Remove affected leaves. Use a fungicide.
- Scab: Adjust soil pH. Avoid overwatering.
- Aphids: Spray with soapy water. Introduce ladybugs.
Regular monitoring helps prevent these issues. Keep your garden healthy and productive.
Frequently Asked Questions
How Long Do Potatoes Take To Grow?
Potatoes typically take 70 to 120 days to grow, depending on the variety and growing conditions. Early varieties mature faster, around 70-90 days, while late varieties need 100-120 days. Ensure proper care and soil conditions for optimal growth.
Are Potato Plants Easy To Grow?
Yes, potato plants are easy to grow. They require well-drained soil, sunlight, and regular watering. With minimal effort, you can enjoy a bountiful harvest.
How Many Potatoes Do You Get From One Potato Plant?
You typically get 5 to 10 potatoes from one potato plant. The yield depends on the variety and growing conditions.
How Tall Should A Potato Plant Grow?
Potato plants typically grow 12 to 36 inches tall. Height depends on the variety and growing conditions. Ensure proper sunlight and soil.
Conclusion
Growing potato plants can be a rewarding experience. With proper care, they provide nutritious and delicious harvests. Remember to monitor soil, water, and sunlight conditions. Implement these tips for a successful potato garden. Happy gardening! Your efforts will soon yield tasty, homegrown potatoes for you and your family.
